Uncategorized
Review MOC 1389 Wing Body Truck Compatible with LEPIN 23008
Hello everyone, below is a product review article about model MOC 1389 Wing Body Truck Compatible with LEPIN 23008
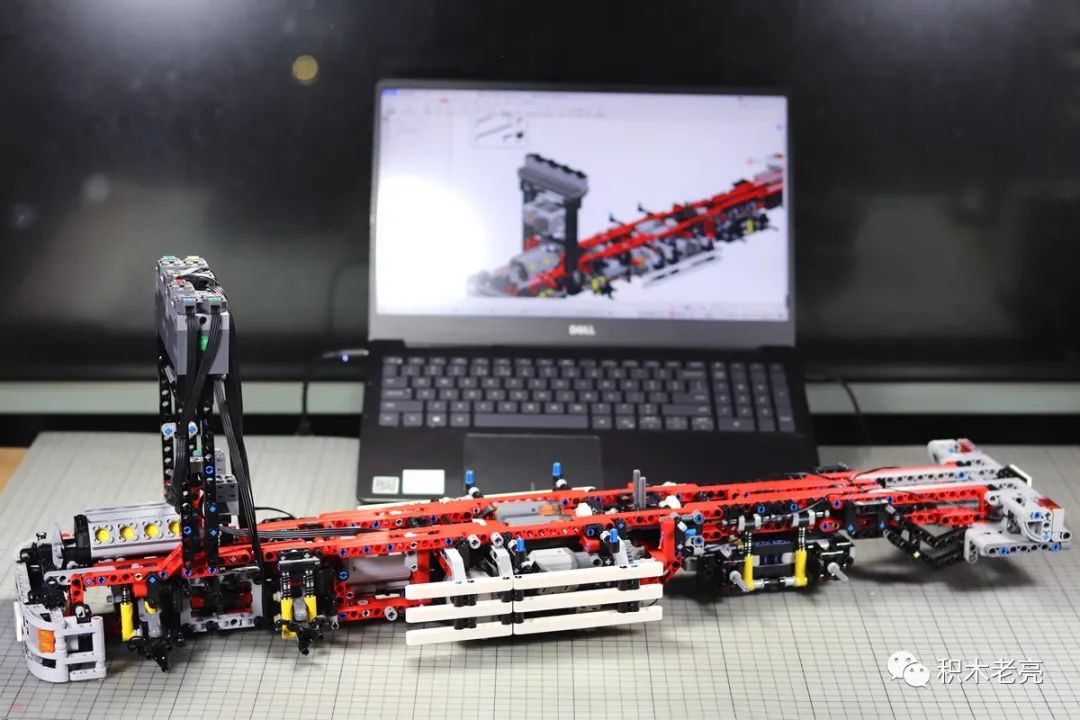
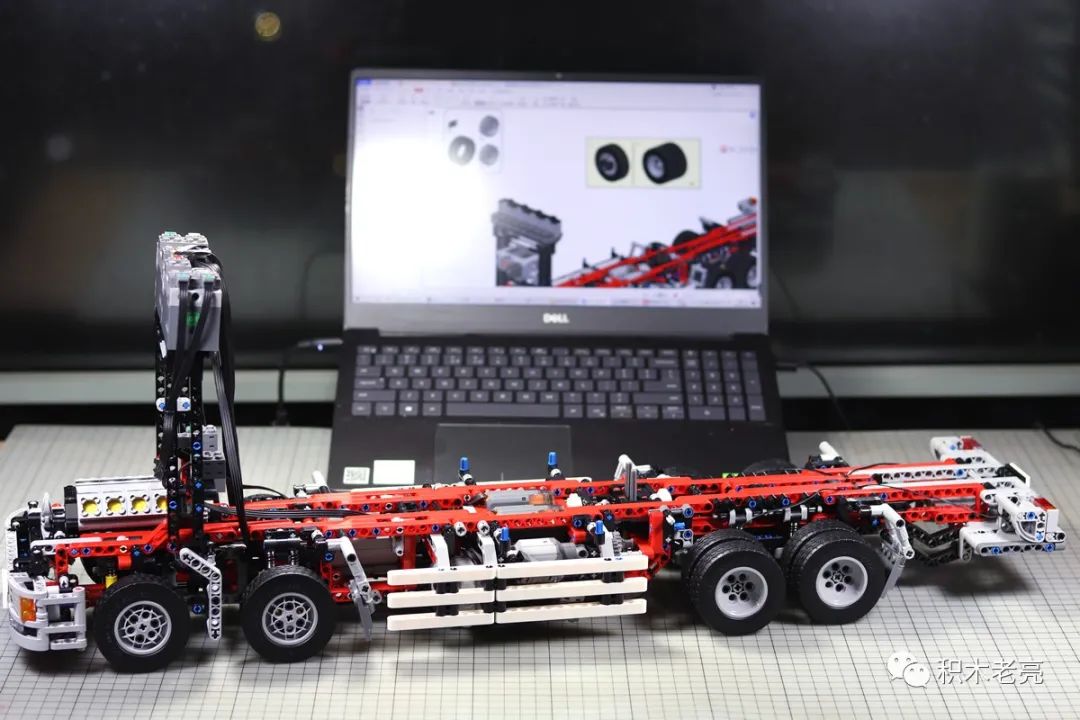
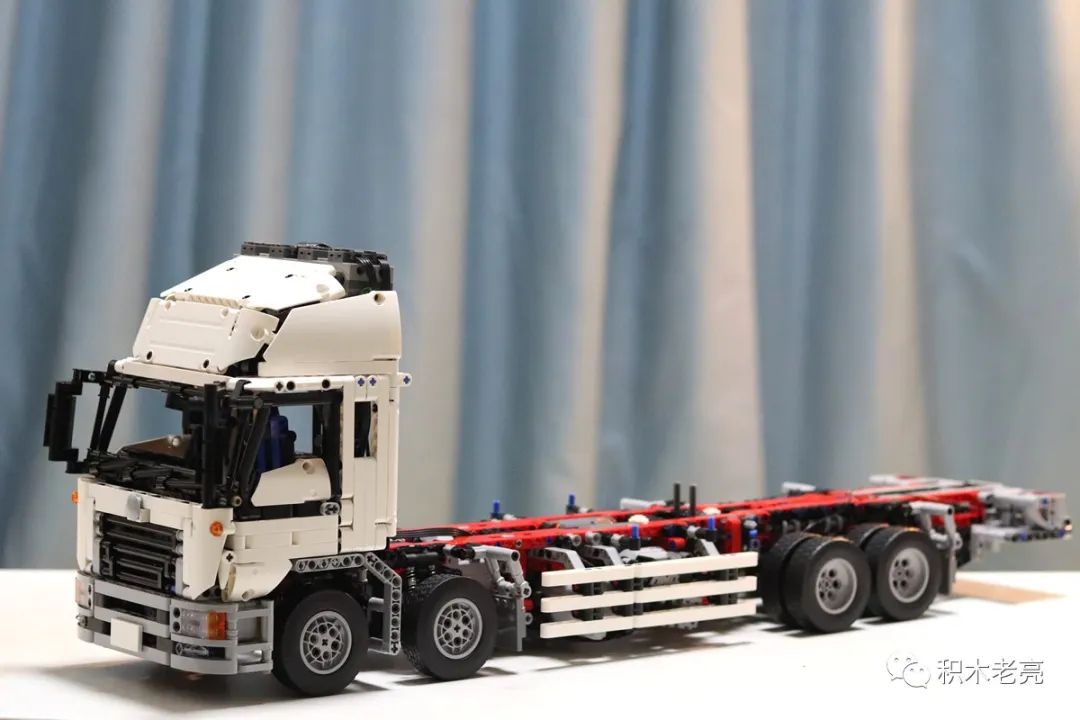
The classic design works from Arai are the fourth most popular among all 26 MOC works published on the RB website. It is one of the works most anticipated by players in the technology group. At the same time, it is also the largest MOC work of Arai, with more than 4,100 pieces of parts, 2 lithium batteries, and 8 motors, it can definitely be called the “Flag God MOC”.
The star card of MOC has received a lot of attention before it went on the market. Due to a large number of parts, and the lack of cards is also a work worthy of careful reading and learning, this evaluation is expected to be completed in three.

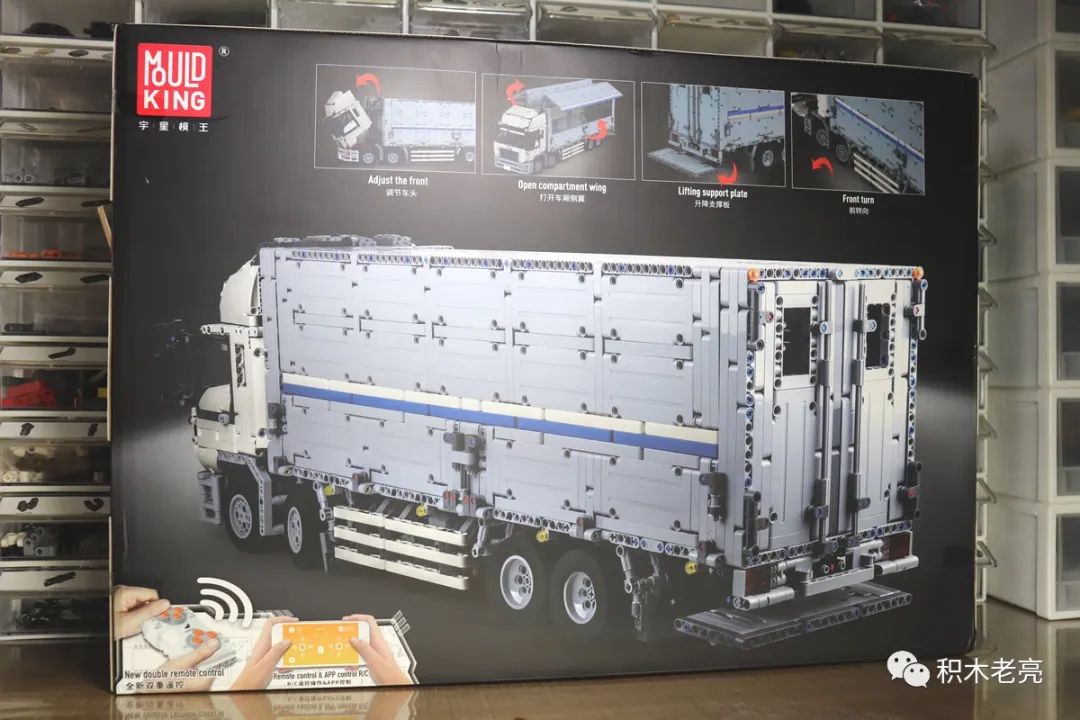
The color box is large, and it is still the standard design style of MOULDKING . Due to the number of more than 4,000 pieces, there is no obvious space inside the color box, which is relatively compact.
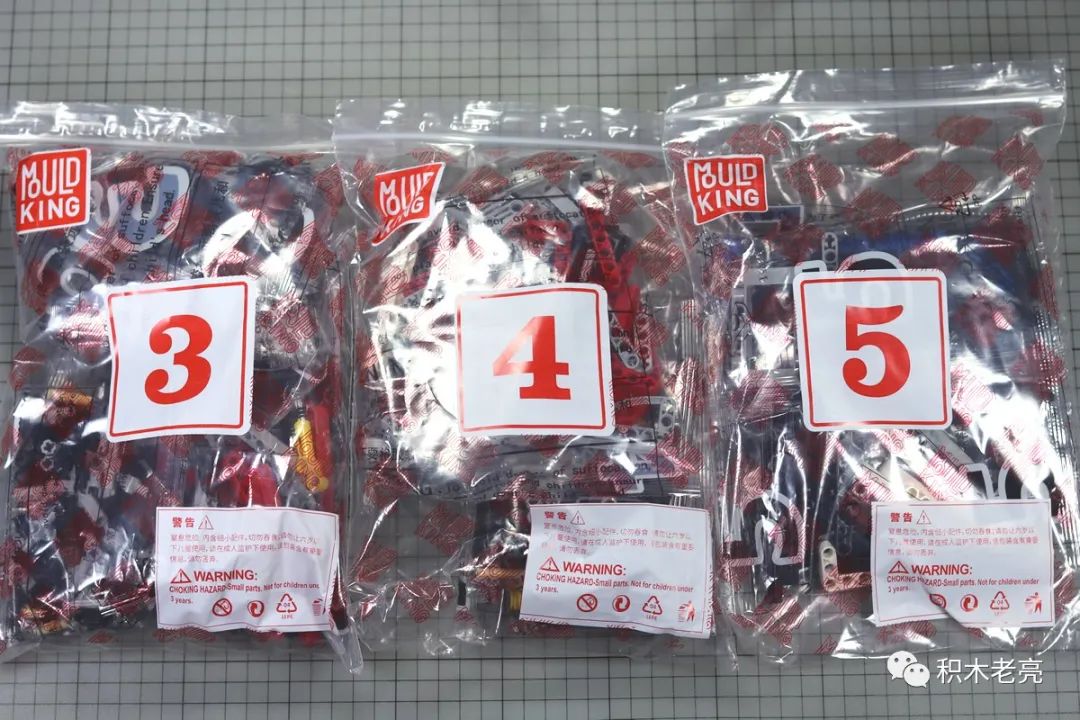
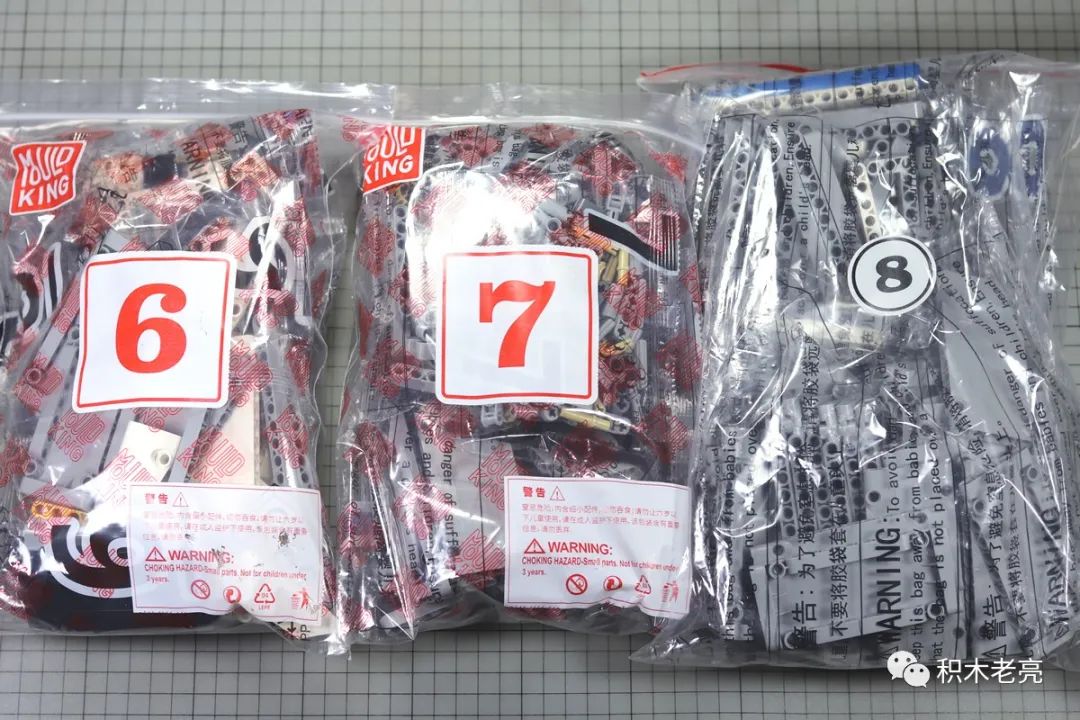
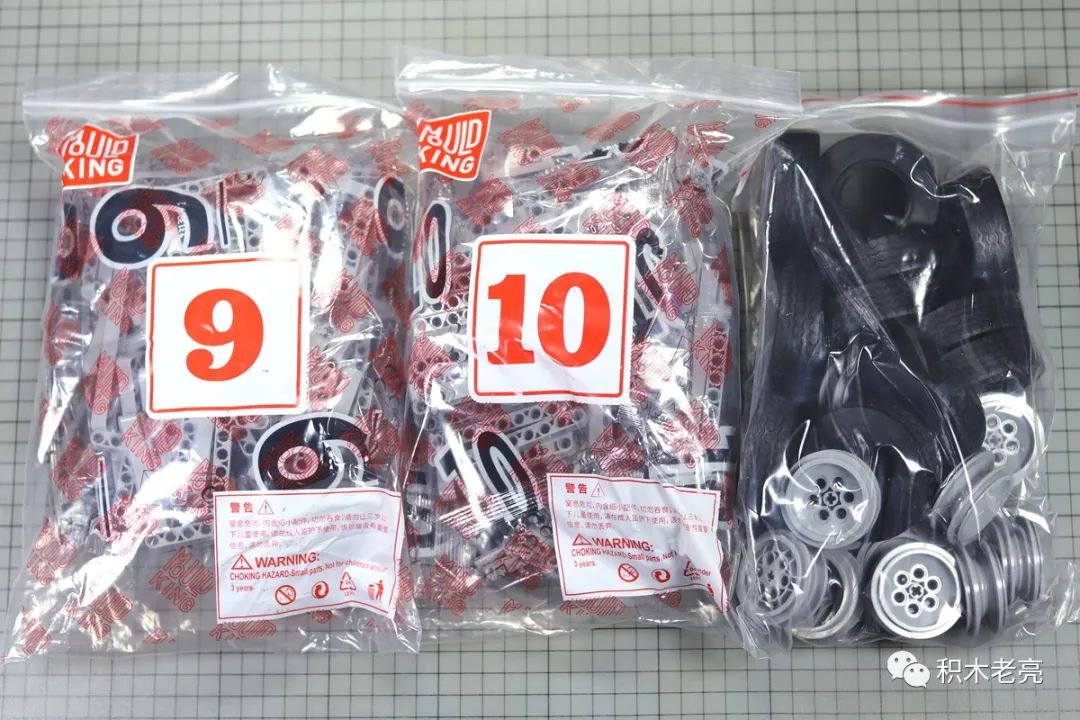
Packaging, manuals, parts subcontracting
Two sub-boxes made of corrugated paper are included. Compared to the previously evaluated MOULDKING products such as the McLaren P1, Icarus, and other color-coded sub-boxes, this card may be relatively more oriented towards practical and cost-effective positioning. Consistent.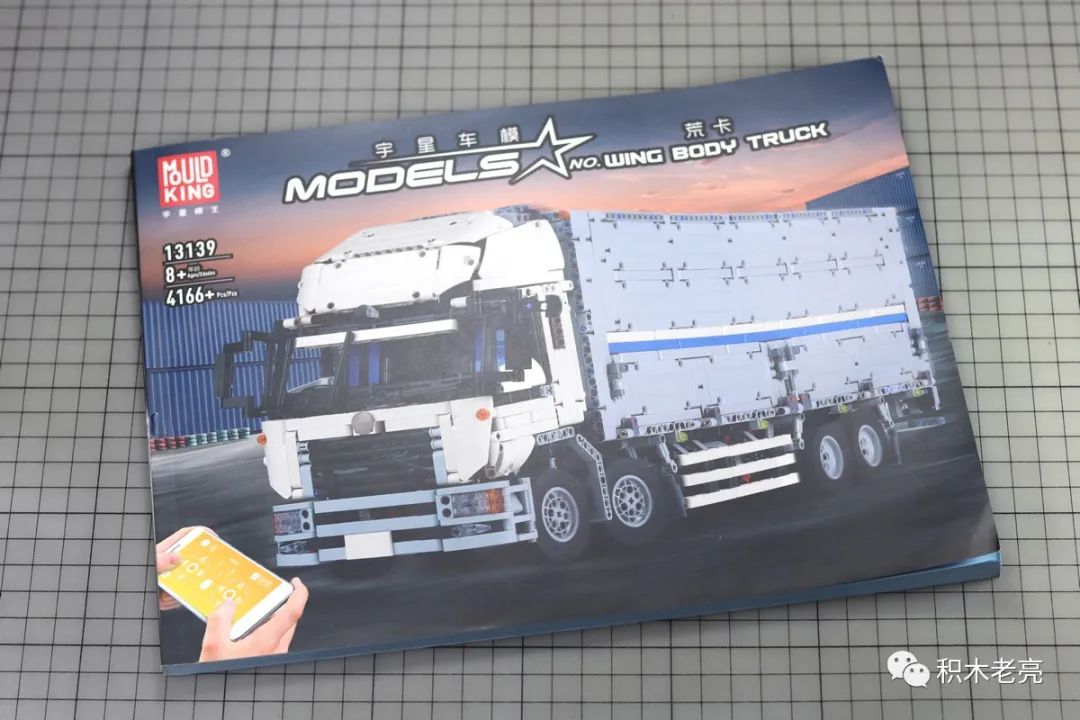
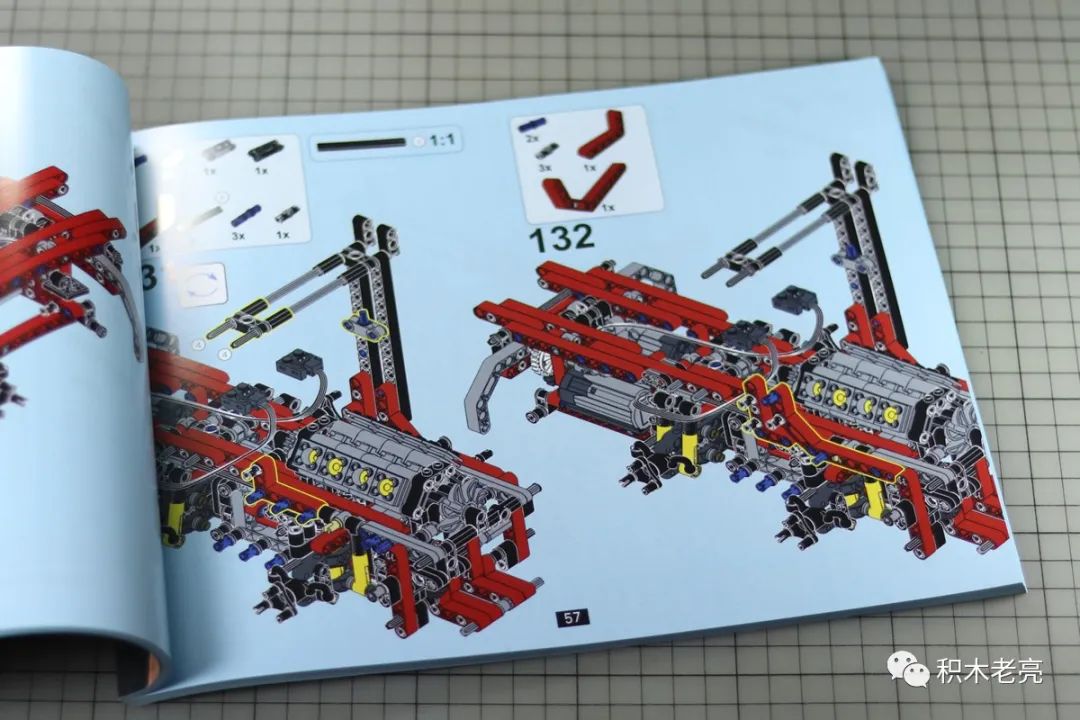
The icons, layout, and printing on the inner pages of the manual are different from MOC’s previous products.

There is nobody sticker, only a sticker used to mark the motor and extension cord plug, which is a very practical design. According to the feedback from the general players before, the lack of cards is not too difficult in building and matching, and there are no obvious difficult steps, but due to a large number of motors and extension lines, it will take more time and effort to distinguish between motors and wiring Be patient, so this sticker is very NICE.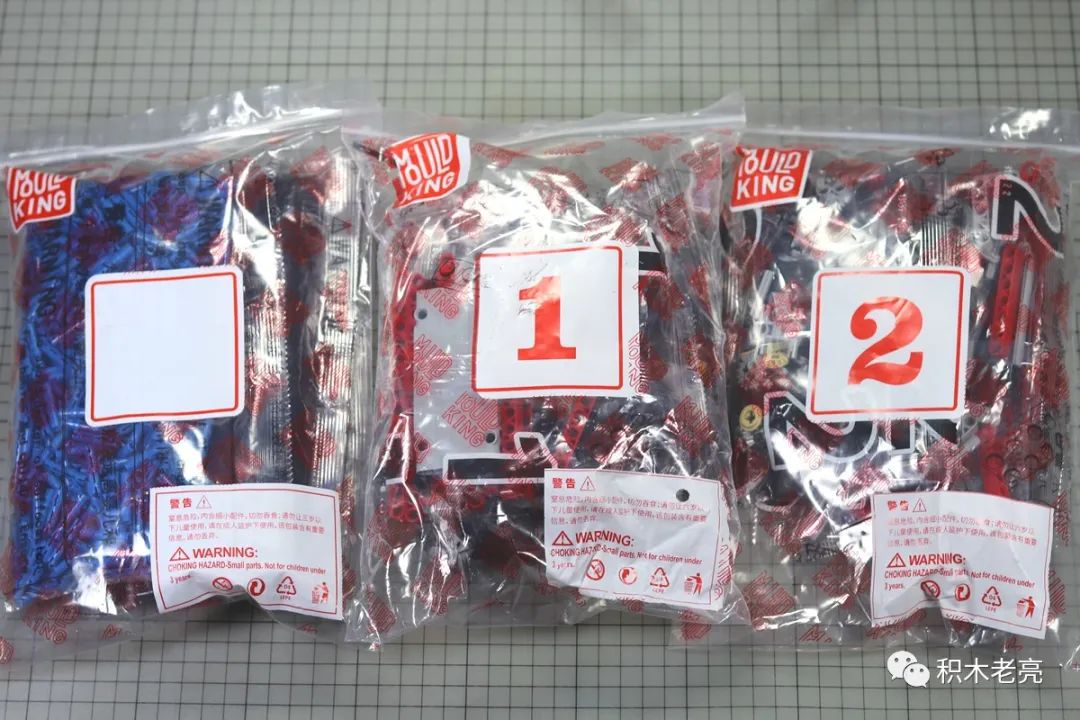
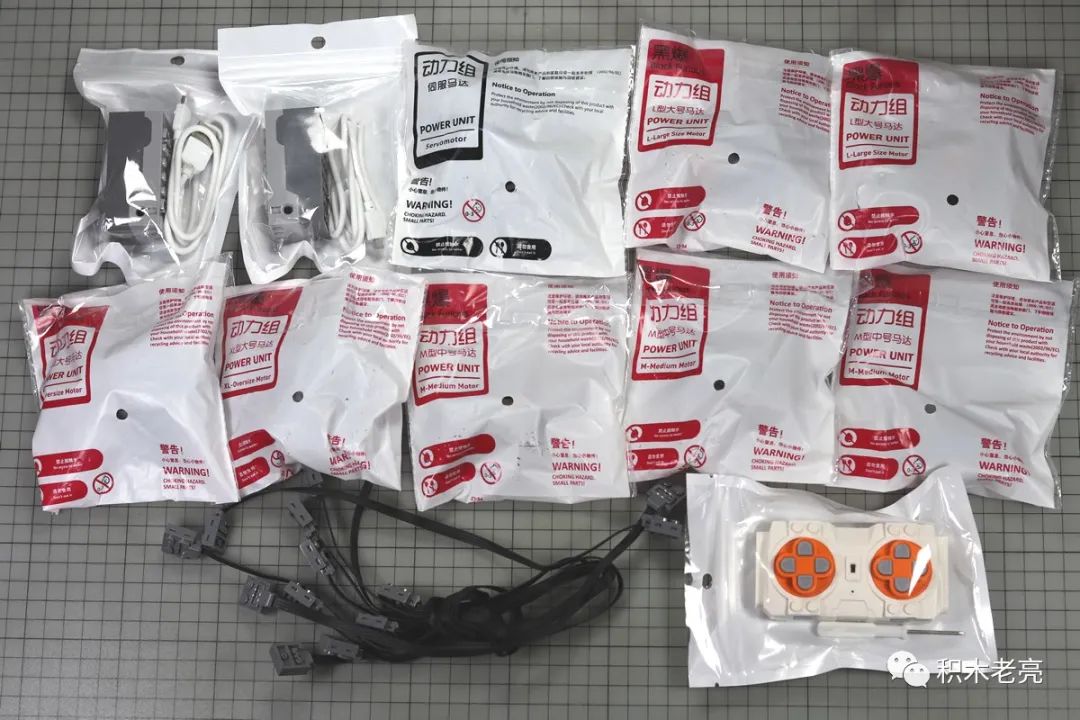
Power group/PF
This MOC card defaults to the power version, there is no static version.
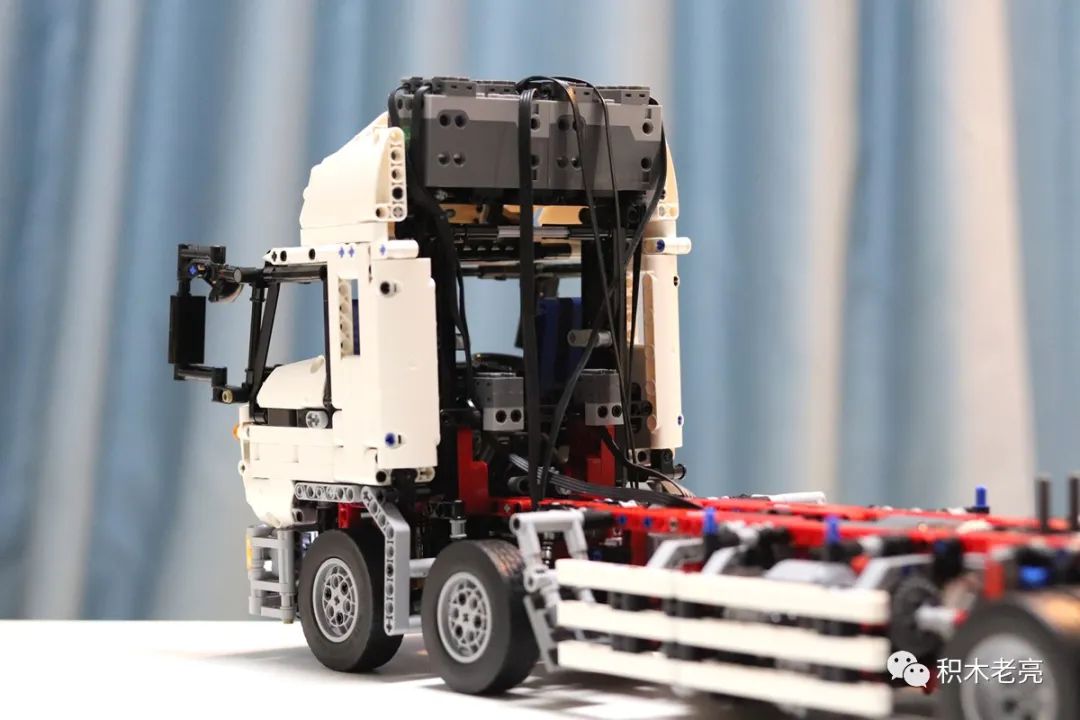
2 Bluetooth lithium batteries, 1 servo motor, 2 XL motors, 2 L motors, 3 M motors, is also a large luxury PF package! The number of Bluetooth lithium batteries and the total number of motors
-
Driving: XL motor × 2 -
Steering: servo motor × 1 -
Tail plate expansion: M motor × 1 -
Tail plate lift: M motor×1 -
Left and right cargo door opening and closing: L motor × 2 -
Front folding: M motor×1
In the original work, there is also an M motor used to drive the switch to control the LED lights. MOC is removed.
In addition to the servo motors, XL/L/M motors are all “black burst” versions, which are said to have improved speed and torque. Since the shortage card does not have high requirements for the motor, except for the two M motors, I used the matching “black explosion” motors, and the other motors were all replaced with my own stock motors. (These “black burst” motors have the opportunity to do a test later.)

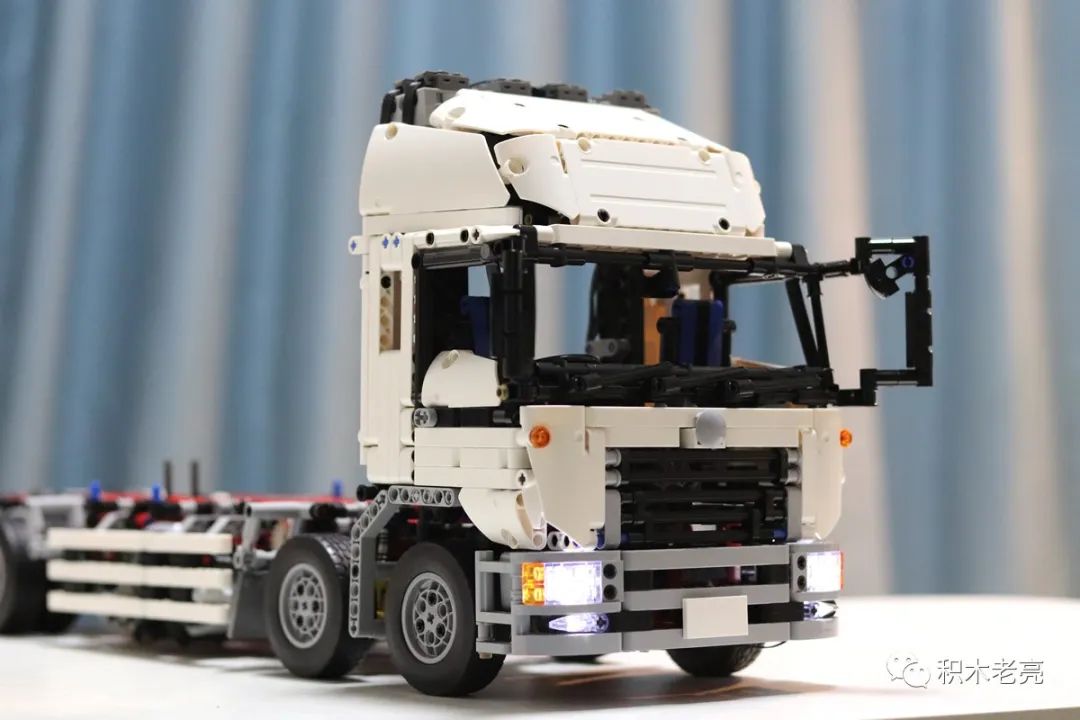
The original parts list and the assembly guide contains 3 sets of #61930 standard LED lamp sets (2 lamp beads per set) , of which 2 sets are for headlights and 1 set is for rear lights. This star card of MOULDKING does not have a light set, so players who want light effects need to buy it themselves.
There is only one set left in my standard LED light set inventory, so I used MOC’s LED light bars here, which came from the PF parts of MOC poison and Mercedes-Benz C63 that I killed before. Compared with the standard LED light group, this kind of LED light bar has a lower brightness, and it is a little more troublesome to install, but the advantage is: there are different light colors to choose; and as long as the lithium battery is inserted, it can be lit, and The standard LED light group needs to press the remote control to light up; at the same time, each light bar has up to 4 LED beads (can be trimmed according to need), and the supporting dedicated plug-in board can insert up to 9 light bars, that is, support up to 36 Lamp beads, and only occupy one battery socket.
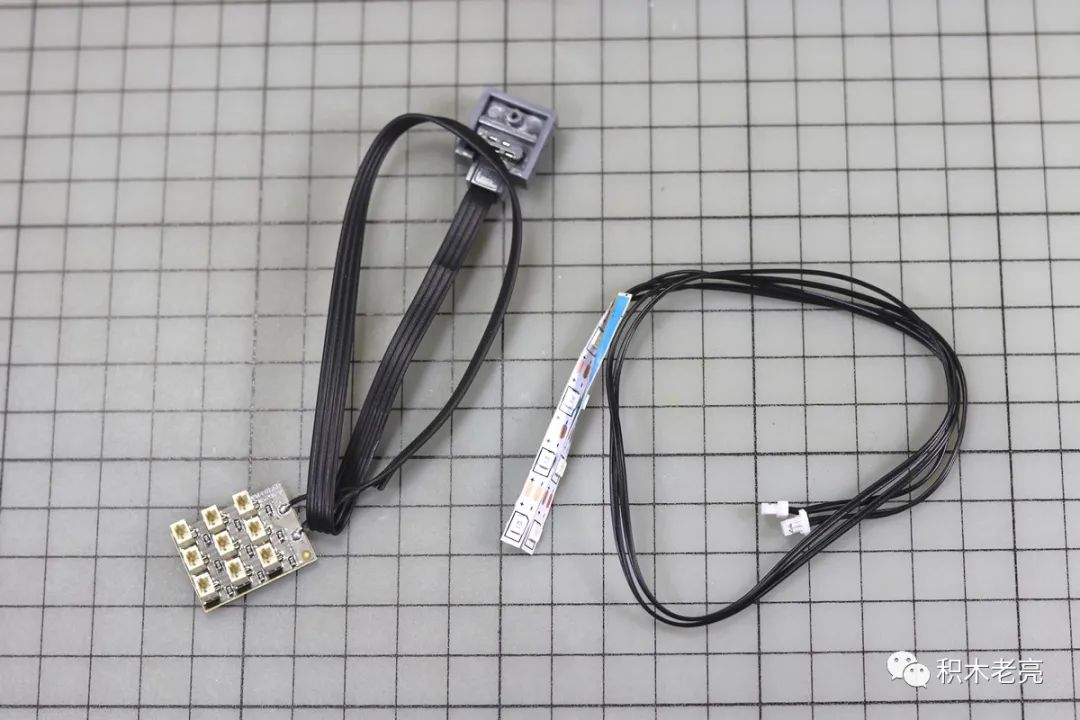
In addition, there are as many as 7 extension lines for this truck. Two of them are 25 cm long and five are 50 cm long. In all the building blocks of the technology group I have done so far, I have not encountered so many extension cords.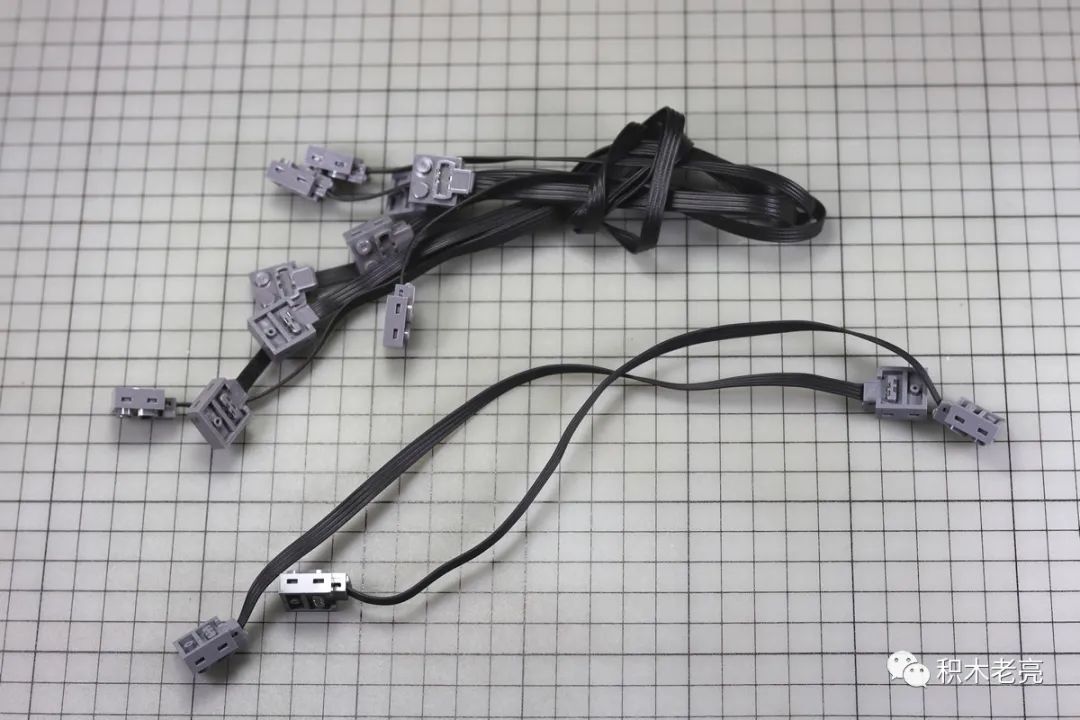
Part particles
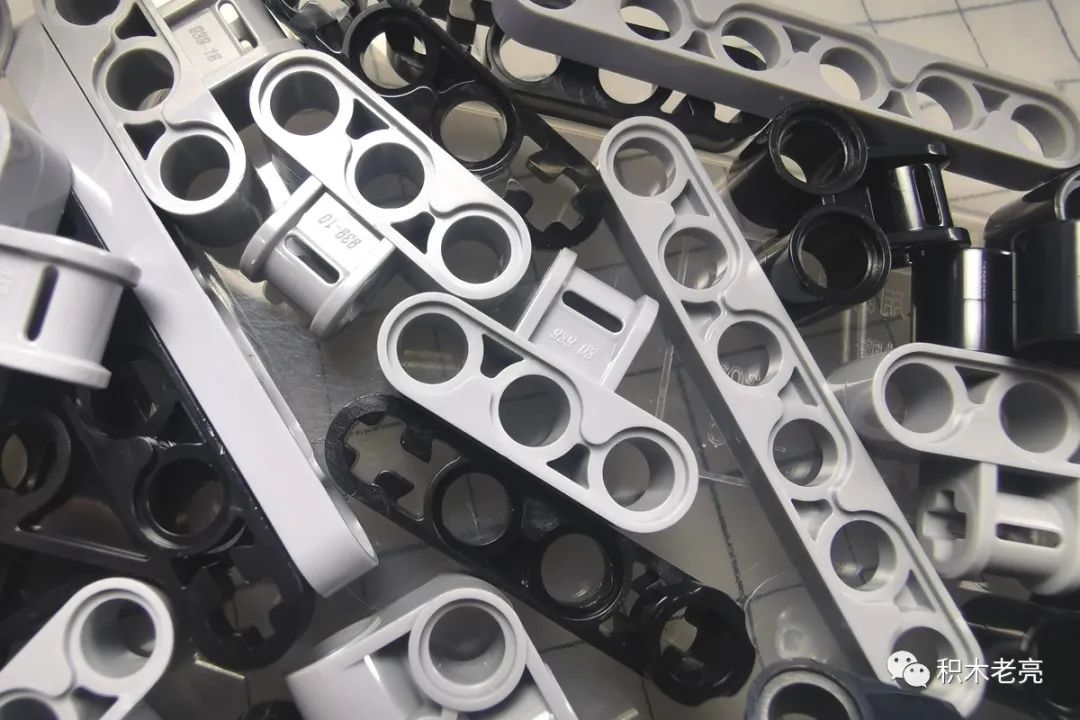
As with other MOC’s products previously evaluated, except for tire wheels and a small number of uncommon parts, almost all the parts of this MOC are high brick parts.
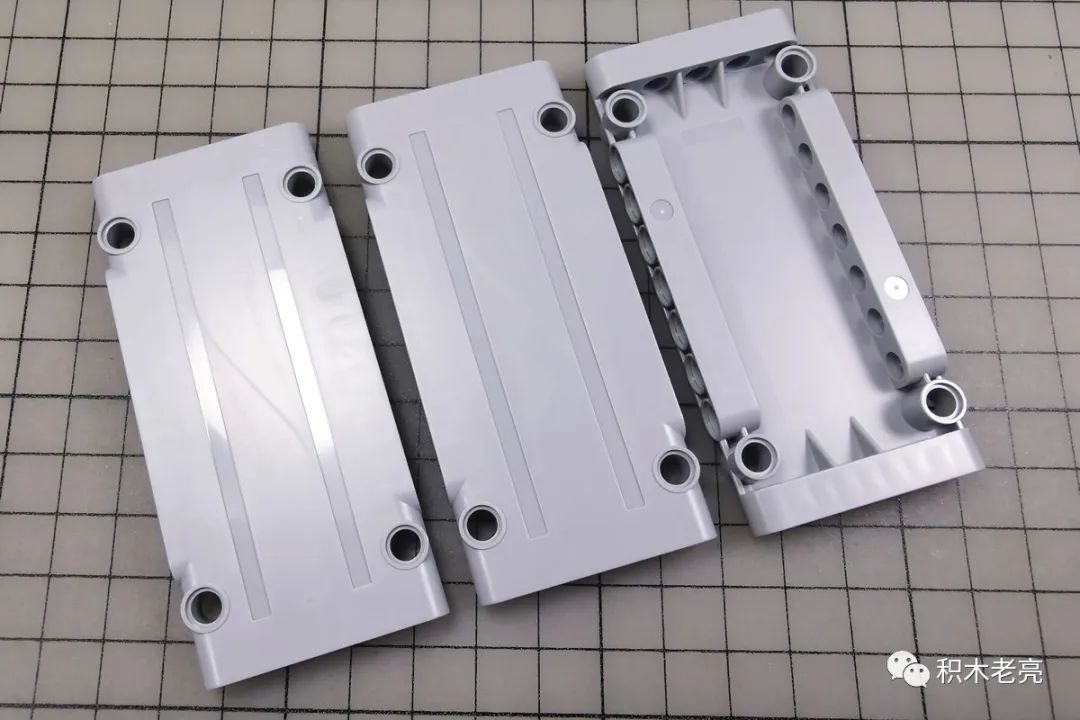
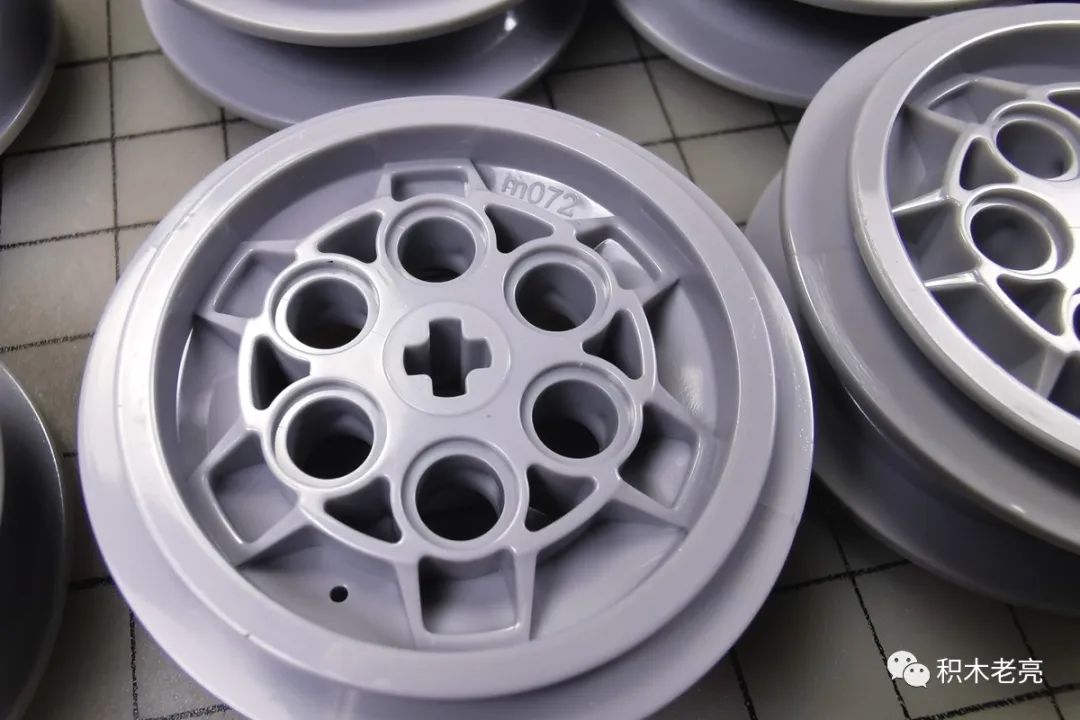
The photos of some parts are as follows:

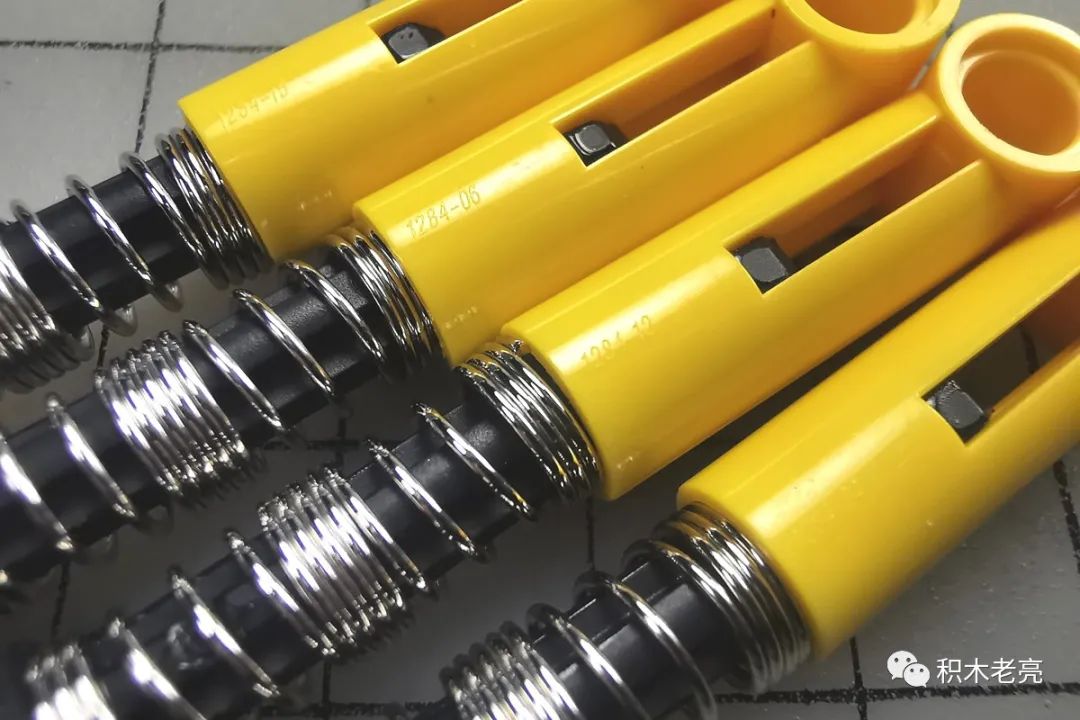

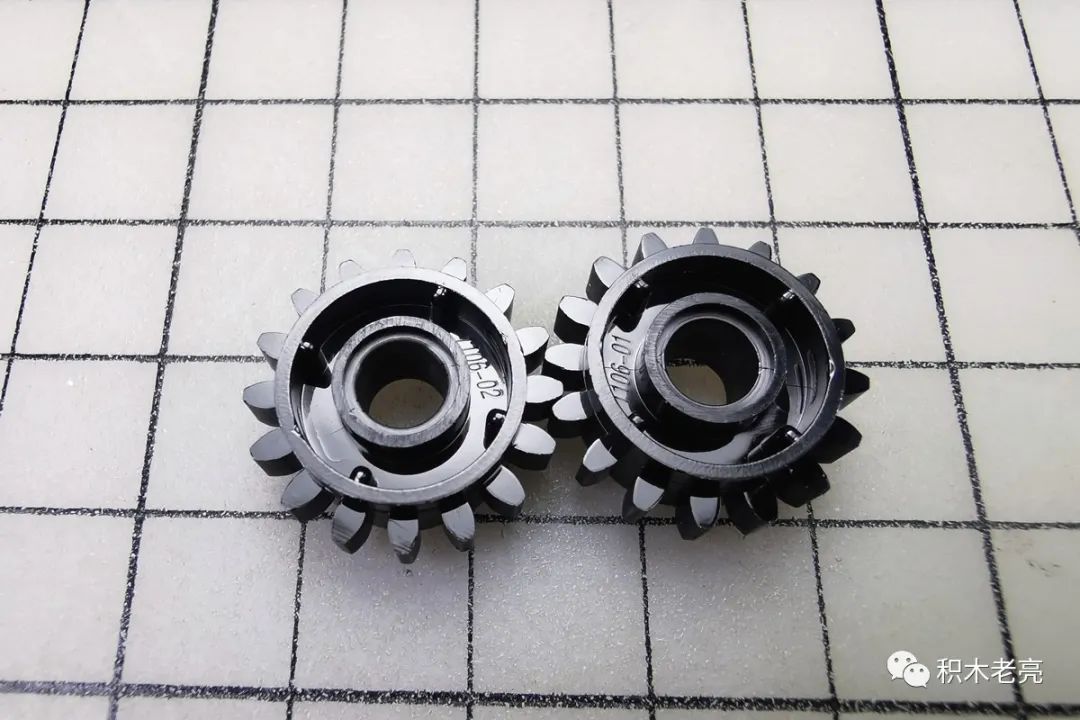


The out-of-print suspension drive axle is very smooth.


MOC card shipped on the first day misplaced a 32-unit long cross shaft into a hose of the same length in terms of parts. After discovering the problem on the same day, the manufacturer has arranged for a reissue. But because this cross shaft needs to be used in step 31, I used the 32-unit long carbon fiber cross shaft in the yellow crane.
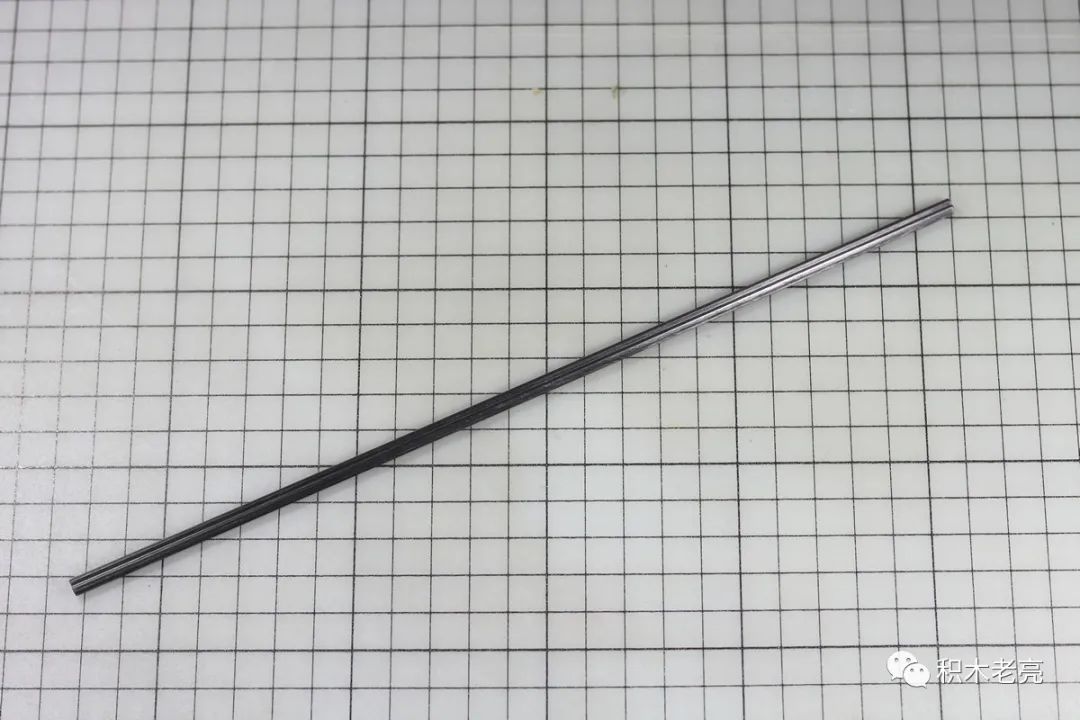
This 32-unit long cross shaft is used to drive the rear end of the truck, and it is also a guide rail for the front and rear extensions of the tailboard. Therefore, there is basically no large torque load, and the carbon fiber cross shaft is not necessary.
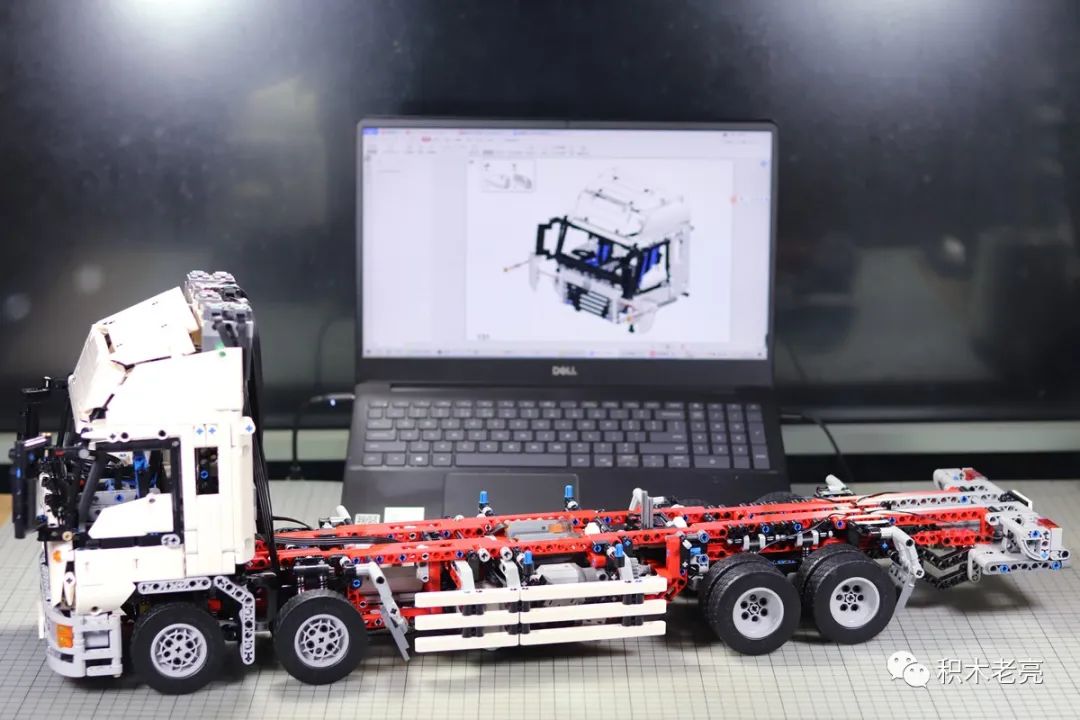
Overall assembly experience (first half)
The first half of the assembly process took about 19 hours, including the inspection of parts during the process, and taking pictures.
In terms of assembling feel, since high brick parts are basically used, the feel is very good, which represents the highest level of domestic building blocks.
After comparison, the manual is basically the same as the original PDF version of the electronic manual, and no obvious errors or omissions have been found (specifically mentioned in the “Key Matters/Assembly Recommendations” below).
However, this manual of MOC Card has these situations:
★ On average, the density of parts in a single step is higher. This is not necessarily a disadvantage or an advantage. I personally prefer this instruction manual with a high density of parts. For example, the 1×1 bushing is used in three consecutive steps. For the instructions with high part density, because they are merged into one step, it is equivalent to finding them together at one time, and the efficiency of finding parts will actually be higher. However, due to differences in preferences and habits, some players may not like this design method, which varies from person to person.
The 4166 parts of the slack card are divided into 343 steps, with an average of 12.15 parts per step.
★ The design of some building steps is not perfect or the prompts are not detailed enough, so some steps need to be studied with care. This problem is also due to the fact that the instructions are basically the same as the original MOC instructions, so all the problems in the original MOC instructions exist. But from another point of view, it does not have serious errors caused by the revision of the manual and product magic.
In addition, in addition to the problem of 32-unit cross shaft wrong parts, no other missing/wrong parts were found in the first half.
The above content is only for the first half. The complete assembly experience will be updated in the second part of this evaluation.

Key issues/assembly suggestions
The accuracy of this manual is very high, and no substantial errors have been found. The following content serves as an assembly suggestion for reference:
★ Fight slowly.
This car is an absolute shortage card worth reading and learning MOC works, it is highly recommended to stop from time to time, a closer look at its design, as ” . ….. only the best works of MOC It is the value of learning. The most important thing in this process is to think more and learn to speculate on the author’s intentions. This is why this part is used instead of other parts. ”
In addition, due to the aforementioned manual, it is too anxious and error-prone.
★ It is recommended to prepare some cable ties for wiring and fixing.
In many MOC works, the wiring of the motor and the extension cable of the Arka is not too difficult, but due to a large number of extension cables and the long wiring distance, it is recommended to prepare some cable ties for fixing the wiring. Thinner is better, too thick cable ties will sometimes interfere with parts assembly.
The reference method of wiring will be sorted out in the subsequent evaluation.
★ In step 31, the hose with a length of 32 units should actually be a cross shaft of the same length.
This problem is wrong in the manual. Therefore, it is not that the manufacturer misplaced the parts, but that the instructions were wrong. I believe that the manufacturer will update this manual after reprinting, but before updating, be careful not to take the wrong parts.
★ Step 47, the original two clutch gears were modified into ordinary 24-tooth gears.
These two clutch gears belong to the lifting opening and closing transmission system of the doors on both sides of the cargo box. The design intent should be to protect the pushrod and the entire transmission system from damage when the push rod is hit to the end. A similar clutch gear design is also available in the hoe lifting drive system). However, because this small putter itself has a certain protection design, it is not easy to damage even if it continues to rotate after hitting the bottom, so it may be intentionally modified in consideration of this situation.
There are some minor problems that have no substantial impact on assembly:
-
Step 12, the yellow outline of #32054 is wrong. -
In the 13th step, the 8-unit long-band cut-off cross shaft is not pushed to the end in the figure. One unit is left and needs to be pushed to the end. -
Step 41, the other end of #32293 connecting rod also needs to be installed on the ball head. -
In step 78, the length of the cross axis is wrong, and it should be 10 units. The illustration is correct. It seems that the parts are equipped with 11 units, and it should be no problem to use 11 units. -
Step 79. Note that the rack is vertically aligned with the cross axis. -
Step 90, pay attention to the vertical alignment of the servo motor cross shaft and the 2 sets of racks. -
In step 134, one light gray #32184 is missing, and the #43093 on the opposite side is unnecessary. -
Step 192, the direction of #32013 is reversed by 90 degrees, and the back is right. -
Step 246, the direction of #6536 is reversed.
The above, as long as you get there, you will understand; most players can find it by themselves, so it is not illustrated in the drawings.
There are no other issues that need to be specifically addressed in the first half. However, it is best to test more when assembling. In addition, all the gears should not be installed too tightly. As long as the complex transmission blocks need to pay attention to these problems, a natural card is no exception.
In the second half and the final product, you can pay attention to the follow-up evaluation.
Click HERE to buy this produc